Key Takeaways:
How to Read Blueprints for Beginners
01. Check the Title Block
Project name • Drawing number • Scale • Revision
02. Identify the Drawing
Floor Plan • Elevation • Section • Site Plan
03. Understand the Scale
Know the relationship between drawing size and actual size.
04. Learn the Symbols
Doors • Windows • Stairs • Electrical • Plumbing
05. Read the Dimensions
Check length, width, height, wall thickness, and locations.
06. Understand the Views
Plan → Elevation → Section → Details
07. Read the Notes
Check materials, finishes, construction methods, and specifications.
08. Check Revisions
Always use the latest drawing revision.
Key Takeaway
Title Block → Scale → Symbols → Dimensions → Views → Notes → Revisions
In this article:
How to Read Blueprints for Beginners
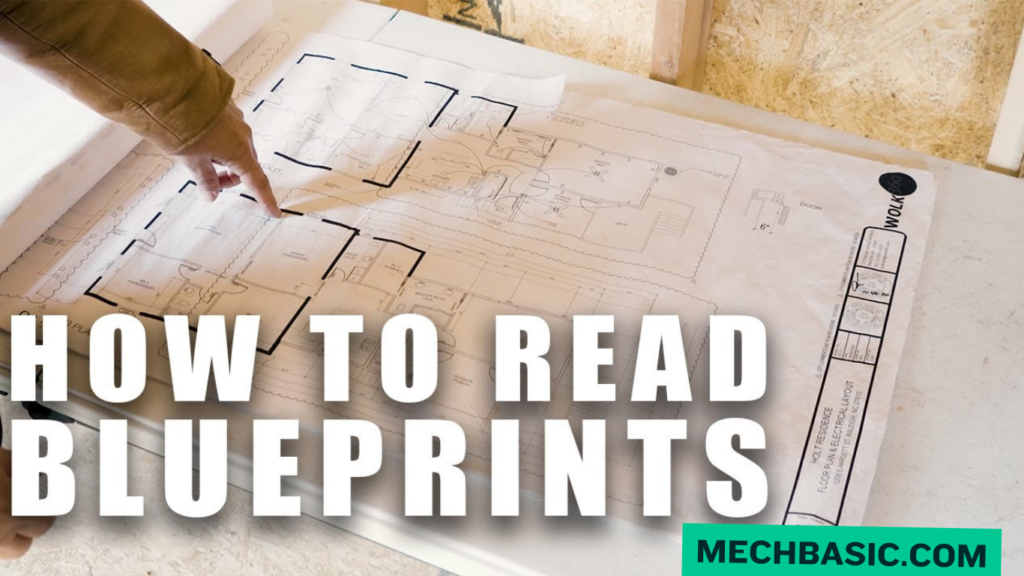
Learning to read blueprints is an essential skill for draftsmen, civil engineers, architects, contractors, site engineers, and construction professionals. A blueprint contains technical information about the size, layout, materials, construction methods, and specifications of a project.
If you are a beginner, follow these eight simple steps.
01. Check the Title Block
Start by checking the title block, usually located at the bottom or side of the drawing.
Look for:
- Project name
- Drawing title
- Drawing number
- Scale
- Date
- Revision
- Sheet number
- Designer/consultant
The title block helps you understand what drawing you are looking at and whether it is the current version.
02. Identify the Drawing
Before studying the details, identify the type of drawing.
Common types include:
- Floor Plan – Shows the layout of a building or space.
- Elevation – Shows a vertical exterior or interior view.
- Section – Shows the building as if it has been cut through.
- Site Plan – Shows the building and surrounding site.
- Structural Plan – Shows foundations, columns, beams, and slabs.
- MEP Plan – Shows mechanical, electrical, and plumbing systems.
Knowing the drawing type tells you what information to focus on.
03. Understand the Scale
The scale represents the relationship between the drawing size and the actual size.
Common scales include:
- 1:50
- 1:100
- 1:200
- 1:500
For example, at 1:100, one unit on the drawing represents 100 units in the actual project.
Important: When a written dimension is provided, use that stated dimension rather than measuring the printed drawing.
04. Learn the Symbols
Blueprints use symbols to represent building components and services.
Common examples include:
- Doors
- Windows
- Stairs
- Columns
- Electrical outlets
- Light fixtures
- Plumbing fixtures
- HVAC components
Always check the project’s legend or symbol schedule, because symbols can vary depending on the drawing standard and project.
05. Read the Dimensions
Dimensions tell you the size and location of building elements.
Pay attention to:
- Length
- Width
- Height
- Wall thickness
- Door and window sizes
- Room dimensions
- Column locations
- Setbacks
- Opening locations
Also check the units, such as millimeters, centimeters, meters, or inches.
06. Understand the Views
Construction drawings use different views to communicate different aspects of the project.
A useful sequence is:
Plan → Elevation → Section → Details
Plan
Shows the layout from above.
Elevation
Shows the vertical appearance.
Section
Shows internal construction and vertical relationships.
Details
Provide enlarged information about specific components or connections.
Follow section marks, detail callouts, and drawing references to move between related views.
07. Read the Notes
Never ignore the notes on a blueprint.
They may provide information about:
- Materials
- Finishes
- Construction methods
- Installation requirements
- Concrete specifications
- Fire ratings
- Waterproofing
- General construction requirements
Some information may also be provided in separate schedules and project specifications, so check the referenced documents when necessary.
08. Check Revisions
Always confirm that you are using the latest approved or released drawing revision.
Check:
- Revision number or letter
- Revision date
- Description of changes
- Revision clouds
- Drawing status
Using an outdated drawing can cause construction errors, rework, delays, and additional costs.
Conclusion
Here’s step by step
1. What project is this?
→ Check the title block.
2. What am I looking at?
→ Identify the drawing type.
3. What does everything represent?
→ Check the symbols and legend.
4. How big is everything?
→ Read the dimensions and scale.
5. How is it constructed?
→ Study sections, details, notes, and specifications.
6. Is this the current drawing?
→ Check the revision.
Once you develop this habit, reading construction blueprints becomes much faster and more systematic.
Also Read: How to Learn to Read Blueprints
Latest articles:

Best Budget Workstation Laptops for SolidWorks and Heavy 3D Assembly Modeling
Best Budget Workstation Laptops for SolidWorks and Heavy 3D Assembly Modeling Overview What Does SOLIDWORKS…

SolidWorks Standard vs Professional vs Premium: Full Feature Comparison
SolidWorks Standard vs Professional vs Premium: Full Feature Comparison Overview: SOLIDWORKS Package Overview SOLIDWORKS comes…

SolidWorks 2026 License Cost: Perpetual vs Subscription Pricing Breakdown
SolidWorks 2026 License Cost: Perpetual vs Subscription Pricing Breakdown Overview: SOLIDWORKS 2026 License Options SOLIDWORKS…
Flatness-GD&T | GD&T Tutorials

ANSI vs ISO Standards-Key Differences you need to know
Straightness-GD&T | GD&T Tutorials
Related Tags:
Categories: