Key Takeaways:
How to Build a Blueprint — Step by Step
01. Define the Project
Determine the purpose, requirements, size, and scope of the project.
02. Collect Site Information
Gather measurements, survey data, site conditions, and existing structures.
03. Create the Basic Layout
Develop the initial floor plan, room layout, or component arrangement.
04. Set the Scale
Choose an appropriate drawing scale, such as 1:50 or 1:100.
05. Add Dimensions
Include accurate lengths, widths, heights, wall thicknesses, and locations.
06. Add Views & Details
Create plans, elevations, sections, and enlarged details needed to understand the design.
07. Add Symbols & Notes
Include standard symbols, materials, specifications, and construction notes.
08. Add Title Block
Include project name, drawing number, scale, date, designer, and revision.
09. Review & Verify
Check dimensions, alignment, scale, symbols, notes, and design accuracy.
10. Finalize & Issue
Save the drawing, assign the correct revision, and issue the final blueprint for construction or manufacturing.
Key Takeaway
Requirements → Site Data → Layout → Scale → Dimensions → Views → Details → Notes → Review → Final Blueprint
In this article:
How to Build a Blueprint — Step by Step
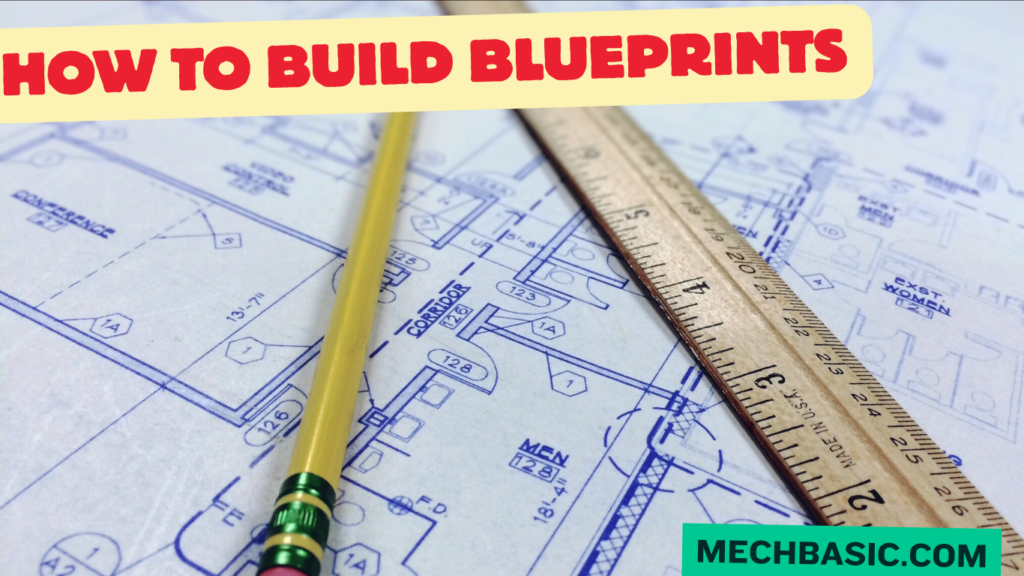
A blueprint is a detailed technical drawing used to communicate how a building, structure, component, or system should be designed, constructed, manufactured, or installed. Today, most blueprints are created digitally using CAD or BIM software rather than being drawn manually.
Creating a good blueprint requires accuracy, clear documentation, proper dimensions, standardized symbols, and careful review.
01. Define the Project
Start by clearly defining what you need to draw.
Identify:
- Project type
- Project scope
- Purpose of the drawing
- Required drawing sheets
- Design requirements
- Applicable codes and standards
- Client or engineering requirements
Example
For a residential building, the drawing package might include:
Site Plan → Floor Plans → Elevations → Sections → Structural Drawings → MEP Drawings → Details
A clear project definition helps determine what information needs to appear on the drawings.
02. Collect Site Information
For construction projects, collect the information needed to accurately represent the site.
This may include:
- Site dimensions
- Property boundaries
- Existing structures
- Ground levels
- Roads
- Access points
- Utilities
- Survey information
- North direction
- Setbacks
- Existing services
For a new building, accurate survey information is particularly important because the design needs to fit the actual site conditions.
03. Create the Basic Layout
Create the initial arrangement of the project.
For a building, this could include:
- Rooms
- Walls
- Doors
- Windows
- Stairs
- Columns
- Circulation areas
- Major equipment
- Structural elements
For mechanical or industrial projects, the basic layout may instead contain:
- Components
- Assemblies
- Equipment
- Pipes
- Ducts
- Machines
Start with the major elements before adding smaller details.
04. Set the Scale
Select an appropriate drawing scale based on the size and complexity of the project.
Common construction drawing scales include:
- 1:50
- 1:100
- 1:200
- 1:500
The scale determines how the design is represented on the drawing sheet.
Example
At 1:100:
1 unit on the drawing represents 100 units in reality.
Always clearly identify the scale on the drawing and follow the applicable drafting conventions.
05. Add Dimensions
Add dimensions that communicate the size and location of important elements.
Depending on the project, include:
- Overall dimensions
- Room dimensions
- Wall thicknesses
- Door and window sizes
- Structural dimensions
- Heights
- Levels
- Setbacks
- Opening locations
Dimensions should be clear, consistent, and sufficient for the intended construction or manufacturing purpose.
Avoid unnecessary or duplicate dimensions that could create confusion.
06. Add Views & Details
Use different views to communicate the design completely.
Common Views
- Floor plans
- Elevations
- Sections
- Isometric views
- Detail views
- Enlarged details
Example
Floor Plan
→ Shows the layout
Elevation
→ Shows the vertical appearance
Section
→ Shows internal construction
Detail
→ Shows a specific component or connection at a larger scale
Use section and detail references so users can easily navigate between related drawings.
07. Add Symbols & Notes
Add standardized symbols and technical annotations.
These may represent:
- Doors
- Windows
- Stairs
- Electrical fixtures
- Plumbing fixtures
- HVAC equipment
- Structural elements
- Materials
- Levels
- Section references
Also include relevant notes about:
- Materials
- Finishes
- Construction requirements
- Installation methods
- General specifications
- Special instructions
Use the appropriate project and industry standards.
08. Add Title Block
Add a professional title block to each drawing sheet.
A title block commonly contains:
- Project name
- Drawing title
- Drawing number
- Scale
- Date
- Revision
- Sheet number
- Drawn by
- Checked by
- Approved by
- Company/consultant information
The title block makes the drawing easier to identify, manage, and control.
09. Review & Verify
Before issuing the blueprint, perform a detailed review.
Check:
- Dimensions
- Scale
- Units
- Drawing references
- Symbols
- Notes
- Materials
- Levels
- Drawing numbers
- Revision information
- Coordination with other drawings
Cross-Check Drawings
Make sure the architectural, structural, and MEP information is coordinated where applicable.
For example:
Architectural Plan
↔ Structural Plan
↔ Electrical Plan
↔ Plumbing Plan
↔ HVAC Plan
This helps identify conflicts before construction.
10. Finalize & Issue
After review and approval, prepare the final drawing package.
Typical steps include:
- Complete corrections
- Update revision information
- Check file names
- Confirm drawing status
- Export required formats, such as PDF
- Publish or issue the approved drawings
- Archive previous revisions
Only the appropriate approved/released version should be used for construction.
Frequently Asked Questions (FAQs)
1. What is a blueprint?
A blueprint is a technical drawing or drawing package that communicates the design, dimensions, materials, construction details, and requirements of a project.
2. What software is used to create blueprints?
Common software includes AutoCAD, Revit, Civil 3D, SOLIDWORKS, Inventor, CATIA, Creo, and other CAD/BIM applications, depending on the industry.
3. Can I create a blueprint without CAD software?
Yes. Technical drawings can be created manually, but modern professional projects are generally produced using CAD or BIM software because digital tools make drafting, modification, documentation, and revision management more efficient.
4. What should be included in a blueprint?
Depending on the project, a drawing may include:
- Plans
- Elevations
- Sections
- Details
- Dimensions
- Symbols
- Notes
- Specifications
- Title block
- Revision information
5. What scale should I use?
The appropriate scale depends on the size of the project, drawing sheet, required level of detail, and industry standards. Common building scales include 1:50, 1:100, and 1:200.
6. Why are dimensions important?
Dimensions communicate the required size and location of components and building elements, allowing the design to be constructed or manufactured accurately.
7. Why is reviewing a blueprint important?
Reviewing helps identify errors such as incorrect dimensions, missing information, conflicting details, incorrect references, and coordination problems before the drawing is issued.
8. Who creates blueprints?
Depending on the project, drawings may be created by draftsmen, CAD technicians, architects, engineers, BIM technicians, designers, and other technical professionals.
9. What is the difference between a blueprint and a CAD drawing?
A CAD drawing is a digital technical drawing created using computer-aided design software. “Blueprint” is commonly used as a general term for construction or technical drawings, even though modern drawings are usually produced digitally rather than using traditional blueprints.
10. Can one blueprint contain everything?
Large projects normally require a set of coordinated drawings rather than one sheet. Different sheets may cover architecture, structure, electrical, plumbing, HVAC, site work, and construction details.
Conclusion
Building a professional blueprint requires more than simply drawing lines. You need to define the project, collect accurate information, create the layout, establish the scale, add dimensions and views, apply symbols and notes, complete the title block, review the design, and issue the approved drawing.
The basic process is:
Project Definition → Site Information → Layout → Scale → Dimensions → Views → Symbols & Notes → Title Block → Review → Final Issue
With practice in technical drawing, CAD/BIM software, dimensioning, standards, and construction documentation, you can develop the skills needed to create clear and accurate drawings for architectural, civil, structural, mechanical, electrical, MEP, and other engineering applications.
Also read: How to Make Blueprints
Latest articles:

Best Budget Workstation Laptops for SolidWorks and Heavy 3D Assembly Modeling
Best Budget Workstation Laptops for SolidWorks and Heavy 3D Assembly Modeling Overview What Does SOLIDWORKS…

SolidWorks Standard vs Professional vs Premium: Full Feature Comparison
SolidWorks Standard vs Professional vs Premium: Full Feature Comparison Overview: SOLIDWORKS Package Overview SOLIDWORKS comes…
SolidWorks 2026 License Cost: Perpetual vs Subscription Pricing Breakdown
SolidWorks 2026 License Cost: Perpetual vs Subscription Pricing Breakdown Overview: SOLIDWORKS 2026 License Options SOLIDWORKS…
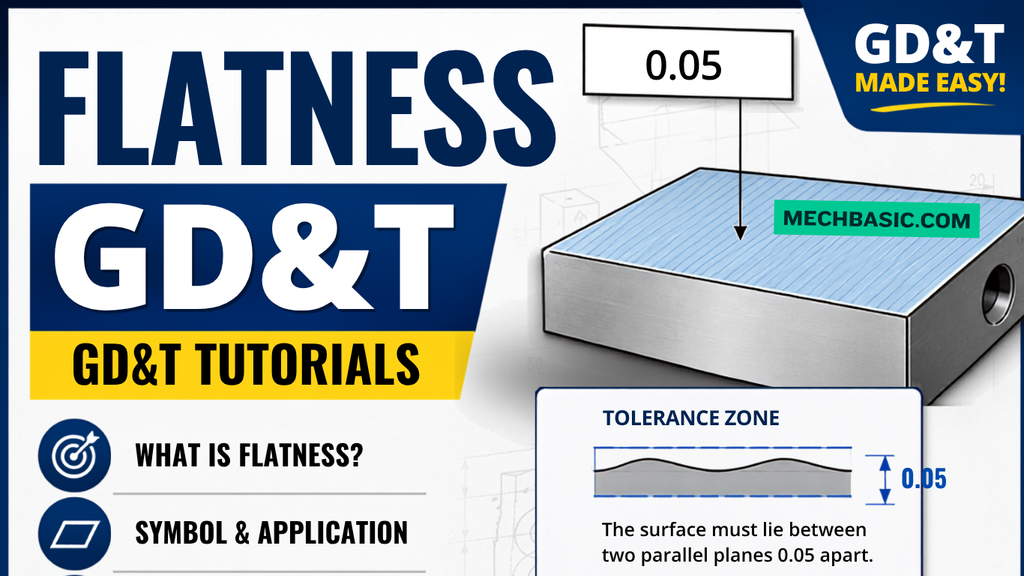
Flatness-GD&T | GD&T Tutorials

ANSI vs ISO Standards-Key Differences you need to know
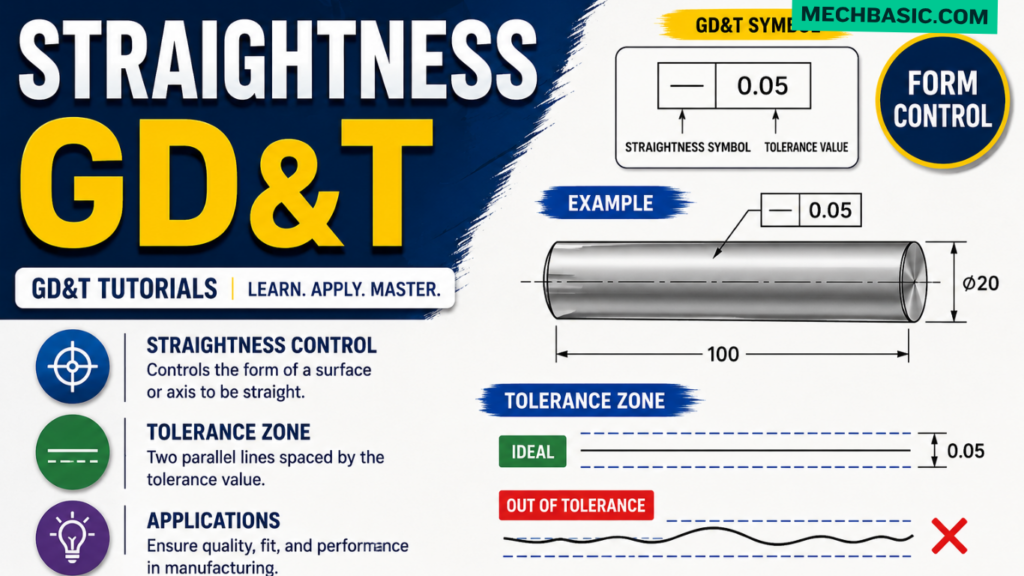
Straightness-GD&T | GD&T Tutorials
Related Tags:
Categories: