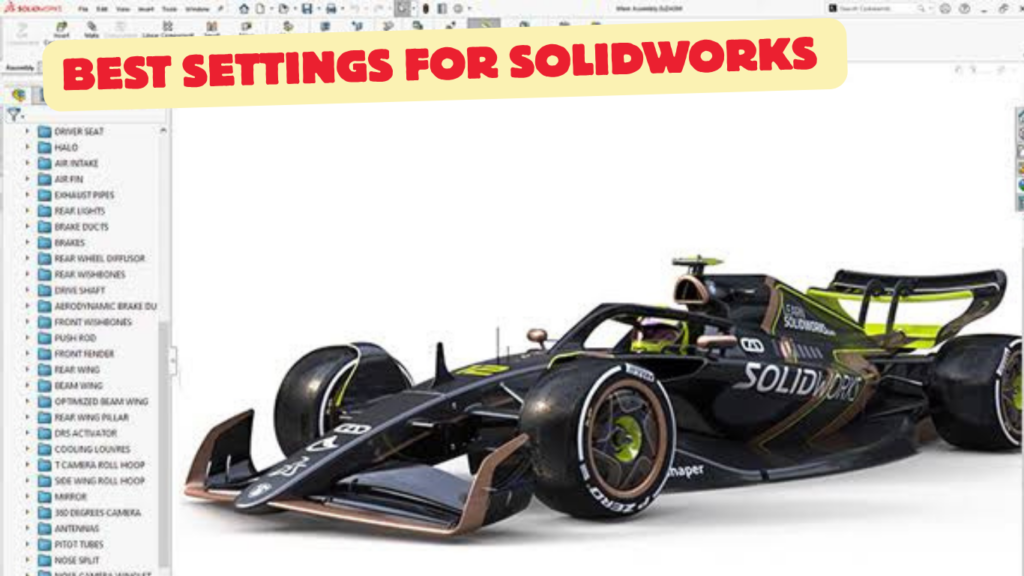
Key Takeaways:
Best SOLIDWORKS Settings
1. Units
Set the correct units for your projects, such as MMGS (mm, g, s) for most mechanical engineering work.
2. Performance Settings
Adjust Large Assembly Settings, lightweight components, and rebuild options to improve performance when working with complex models.
3. Graphics Settings
Use a SOLIDWORKS-certified graphics card and enable appropriate graphics performance options for smoother 3D modeling and assembly viewing.
4. Backup & Recovery
Enable Auto-recover and backup features to protect your work from crashes or accidental data loss.
5. File Locations
Set organized locations for Part, Assembly, Drawing, Sheet Format, and Template files so SOLIDWORKS can find them quickly.
6. Sketch Settings
Enable Automatic Relations, snapping, and inference to make sketching faster and more accurate.
7. Display Settings
Choose Shaded with Edges for everyday modeling and adjust Image Quality to balance visual quality with performance.
8. Mouse & Keyboard Shortcuts
Customize Mouse Gestures, Shortcut Bars, and Keyboard Shortcuts for frequently used commands such as Extrude, Cut, Fillet, Chamfer, Sketch, and Measure.
9. Save Settings
Use regular Ctrl + S saves and configure automatic backup/recovery intervals appropriate for your workflow.
10. Templates
Create standard Part, Assembly, and Drawing templates with your preferred units, materials, drafting standards, and company information.
Recommended Setup
MMGS → Shaded with Edges → Automatic Relations → Auto-Recover ON → SSD Storage → Certified GPU → Customized Shortcuts
Key Takeaway
Units → Performance → Graphics → Sketch → Backup → File Locations → Display → Shortcuts → Templates
In this article:
- Best SOLIDWORKS Settings
- 1. Units
- 2. Performance Settings
- 3. Graphics Settings
- 4. Backup & Recovery
- 5. File Locations
- 6. Sketch Settings
- 7. Display Settings
- 8. Mouse & Keyboard Shortcuts
- 9. Save Settings
- 10. Templates
- Best SOLIDWORKS Setup for Beginners
- Recommended Setup for Large Assemblies
- Frequently Asked Questions (FAQs)
- Conclusion
Best SOLIDWORKS Settings
Choosing the right SOLIDWORKS settings can improve modeling speed, graphics performance, file reliability, and overall productivity. A well-configured SOLIDWORKS environment is especially important for mechanical engineers, CAD designers, students, and professionals working with large assemblies or complex models.
The following settings provide a practical starting point for everyday mechanical design work.
1. Units
Correct units are essential because they control how dimensions and measurements are displayed and entered.
Go to:
Tools → Options → Document Properties → Units
Recommended Setting
For most metric mechanical engineering projects:
Unit System: MMGS
- Length → millimeters (mm)
- Mass → kilograms (kg)
- Time → seconds (s)
Common Unit Systems
| Unit System | Common Application |
|---|---|
| MMGS | Metric mechanical engineering ⭐ |
| IPS | Imperial/US engineering |
| CGS | Scientific applications |
| MKS | Engineering and scientific work |
Recommendation
For most mechanical CAD users:
MMGS → mm → kg → s
2. Performance Settings
Performance settings determine how efficiently SOLIDWORKS handles complex models and assemblies.
Go to:
Tools → Options → System Options → Performance
Recommended Settings
For normal parts and small assemblies:
- Keep performance settings balanced.
- Avoid unnecessary visual effects.
- Use supported hardware and drivers.
For large assemblies:
- Use Large Assembly Settings when appropriate.
- Use lightweight components.
- Use simplified configurations.
- Suppress unnecessary components or features.
- Avoid excessive transparency.
Large Assembly Tip
If your assembly becomes slow, consider:
Lightweight Components → Simplified Configuration → Large Design Review
depending on your workflow and SOLIDWORKS version.
Recommendation
Prioritize:
Responsiveness + Stability + Model Accuracy
rather than maximum visual effects.
3. Graphics Settings
Graphics settings affect model display, rotation, zooming, and overall viewport performance.
Go to:
Tools → Options → System Options → Performance
and the relevant display/graphics settings.
Recommended Settings
- Use a supported dedicated graphics card where available.
- Keep your graphics driver updated.
- Test Enhanced Graphics Performance on your system.
- Reduce unnecessary graphics effects for very large assemblies.
- Use appropriate visual quality for your hardware.
Graphics Priority
For professional CAD:
Stable GPU performance > Maximum visual effects
If your model rotates smoothly and displays correctly, your graphics configuration is generally doing its job.
4. Backup & Recovery
Backup and recovery settings are essential because CAD files can represent many hours of design work.
Go to:
Tools → Options → System Options → Backup/Recover
Recommended Settings
Enable:
- Auto-Recover
- Backup
- Appropriate recovery notifications
Use a recovery location that is separate from your primary project folder when practical.
Example
Project Files
D:\CAD_Projects\
Backup/Recovery
D:\CAD_Backups\
For important projects, maintain additional backups using:
- Company servers
- Approved cloud storage
- Network backups
- PDM systems
Important
Auto-Recover is not a replacement for a proper backup system.
5. File Locations
File locations tell SOLIDWORKS where to find templates, libraries, profiles, and other resources.
Go to:
Tools → Options → System Options → File Locations
Common locations include:
- Document Templates
- Design Library
- Weldment Profiles
- Sheet Metal Profiles
- Custom Properties
- Material databases
- Hole Wizard/Toolbox data
Recommended Folder Structure
SOLIDWORKS Library
├── Templates
├── Design Library
├── Materials
├── Weldment Profiles
├── Sheet Metal
├── Custom Properties
└── Standards
Best Practice
For a company environment, keep shared libraries in a controlled central location so designers use consistent standards.
6. Sketch Settings
Sketch settings have a major impact on modeling efficiency.
Go to:
Tools → Options → System Options → Sketch
Recommended Settings
Use:
- Automatic relations
- Sketch inferencing
- Appropriate snapping
- Geometric relations
Common relations include:
- Horizontal
- Vertical
- Coincident
- Tangent
- Concentric
- Symmetric
- Equal
Fully Defined Sketches
Whenever practical, make important sketches fully defined.
A good sketch generally combines:
Geometric Relations + Dimensions
rather than relying only on dimensions.
Example
Instead of simply dimensioning a hole’s location, use:
Concentric Relation + Diameter + Position Dimensions
This better communicates the design intent.
7. Display Settings
Display settings control how clearly your models appear.
Go to:
Tools → Options → System Options → Display/Selection
Recommended Display Mode
For everyday mechanical design:
Shaded With Edges
It provides a good balance between:
- Model clarity
- Feature visibility
- Graphics performance
Common Display Modes
| Display Mode | Best Use |
|---|---|
| Shaded With Edges | General mechanical modeling |
| Shaded | Fast viewing |
| Wireframe | Internal/complex geometry |
| Hidden Lines Visible | Engineering visualization |
| Hidden Lines Removed | Clean presentation |
For very large assemblies, reducing display complexity can improve responsiveness.
8. Mouse & Keyboard Shortcuts
Keyboard shortcuts can significantly increase productivity.
Essential SOLIDWORKS Shortcuts
| Shortcut | Function |
|---|---|
| S | Shortcut Bar |
| Ctrl + S | Save |
| Ctrl + Z | Undo |
| Ctrl + Y | Redo |
| Ctrl + B | Rebuild |
| Ctrl + Q | Force Rebuild |
| F | Zoom to Fit |
| Spacebar | View Orientation |
| Ctrl + 1 | Front View |
| Ctrl + 2 | Rear View |
| Ctrl + 3 | Left View |
| Ctrl + 4 | Right View |
| Ctrl + 5 | Top View |
| Ctrl + 6 | Bottom View |
| Ctrl + 7 | Isometric View |
Customize Shortcuts
Go to:
Tools → Customize → Keyboard
You can assign shortcuts to frequently used commands such as:
- Measure
- Section View
- Fillet
- Chamfer
- Hole Wizard
- Normal To
- Hide/Show
- View Orientation
Best Shortcut
Learn the S key first. It provides quick access to frequently used commands without moving your mouse across the interface.
9. Save Settings
Saving regularly protects your work from unexpected crashes, power failures, or system problems.
Go to:
Tools → Options → System Options → Backup/Recover
Recommended Practice
Enable:
- Auto-Recover
- Backup
- Recovery notifications where appropriate
And manually save using:
Ctrl + S
frequently.
File Naming Recommendation
Use consistent names such as:
BRACKET_001.SLDPRT
BRACKET_ASSEMBLY_001.SLDASM
BRACKET_DRAWING_001.SLDDRW
Avoid confusing names such as:
final.SLDPRT
final2.SLDPRT
final_new.SLDPRT
final_latest.SLDPRT
A structured naming system makes CAD projects easier to manage.
10. Templates
Templates allow you to automatically apply standard settings whenever you create a new document.
Create templates for:
- Part
- Assembly
- Drawing
Part Template
Configure:
- Units
- Material
- Document properties
- Custom properties
- Standard modeling settings
Assembly Template
Configure:
- Units
- Document properties
- Custom properties
- Standard assembly settings
Drawing Template
Configure:
- Sheet size
- Drawing standard
- Units
- Dimension styles
- Text styles
- Title block
- Company information
Best Practice
Create standardized templates once and use them for every new project.
Best SOLIDWORKS Setup for Beginners
If you’re new to SOLIDWORKS, don’t change every available option immediately.
Start with these settings:
1. Units
MMGS
2. Display
Shaded With Edges
3. Backup
Auto-Recover + Backup
4. Sketch
Automatic Relations + Inferencing
5. Shortcuts
Learn:
S → Shortcut Bar
6. Templates
Create:
Part + Assembly + Drawing Templates
7. File Locations
Organize:
Templates + Design Library + Materials
8. Saving
Use:
Ctrl + S
frequently.
Once you are comfortable with these settings, adjust performance and graphics based on your hardware and project size.
Recommended Setup for Large Assemblies
If you regularly work with hundreds or thousands of components, performance becomes more important.
Recommended
- Lightweight components
- Simplified configurations
- Large Assembly Settings
- Large Design Review when appropriate
- Reduced transparency
- Simplified complex components
- Suppressed unnecessary features
- Appropriate graphics settings
- Updated supported graphics drivers
Avoid
- Excessive transparency
- Unnecessary detailed components
- Extremely complex cosmetic features
- Unnecessary rebuilds
- Excessive graphics effects
Goal
Fast rotation + fast rebuilds + stable assemblies
Frequently Asked Questions (FAQs)
1. What are the best units for SOLIDWORKS?
For most metric mechanical engineering work, MMGS is a good choice.
2. What display mode should I use?
Shaded With Edges is a strong general-purpose option for mechanical modeling.
3. Should Auto-Recover be enabled?
Yes. Auto-Recover provides an additional layer of protection against unexpected interruptions, but it should not replace regular backups.
4. How can I make SOLIDWORKS faster?
Start by simplifying complex models, using appropriate assembly-performance tools, reducing unnecessary graphics effects, and ensuring your system uses supported hardware and drivers.
5. What is the most useful SOLIDWORKS shortcut?
The S key is one of the most useful because it opens the Shortcut Bar and provides quick access to frequently used commands.
6. Should I create custom templates?
Yes. Standard Part, Assembly, and Drawing templates can save considerable time and help maintain consistent engineering standards.
Conclusion
The best SOLIDWORKS settings should create a balance between performance, reliability, modeling efficiency, and visual clarity.
GoEngineer: SOLIDWORKS Large Assembly Management Tutorial: Video webinar and best practices for SpeedPak, Lightweight mode, and resolving graphics bottlenecks.
A strong general setup is:
MMGS + Balanced Performance + Supported Graphics Hardware + Auto-Recover + Organized File Locations + Efficient Sketch Settings + Shaded With Edges + Customized Shortcuts + Regular Saving + Standard Templates
These settings provide a solid foundation for students, CAD designers, mechanical engineers, and professional SOLIDWORKS users. As your projects become more complex, you can further optimize SOLIDWORKS for large assemblies, sheet-metal design, simulation, drawings, or advanced mechanical modeling.
Latest articles:

Best Budget Workstation Laptops for SolidWorks and Heavy 3D Assembly Modeling
Best Budget Workstation Laptops for SolidWorks and Heavy 3D Assembly Modeling Overview What Does SOLIDWORKS…
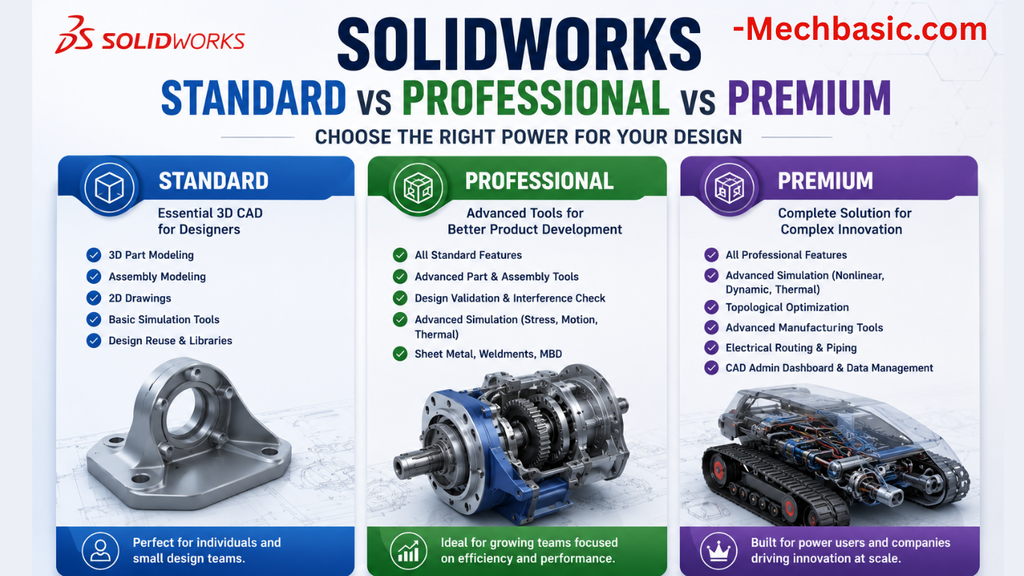
SolidWorks Standard vs Professional vs Premium: Full Feature Comparison
SolidWorks Standard vs Professional vs Premium: Full Feature Comparison Overview: SOLIDWORKS Package Overview SOLIDWORKS comes…
SolidWorks 2026 License Cost: Perpetual vs Subscription Pricing Breakdown
SolidWorks 2026 License Cost: Perpetual vs Subscription Pricing Breakdown Overview: SOLIDWORKS 2026 License Options SOLIDWORKS…
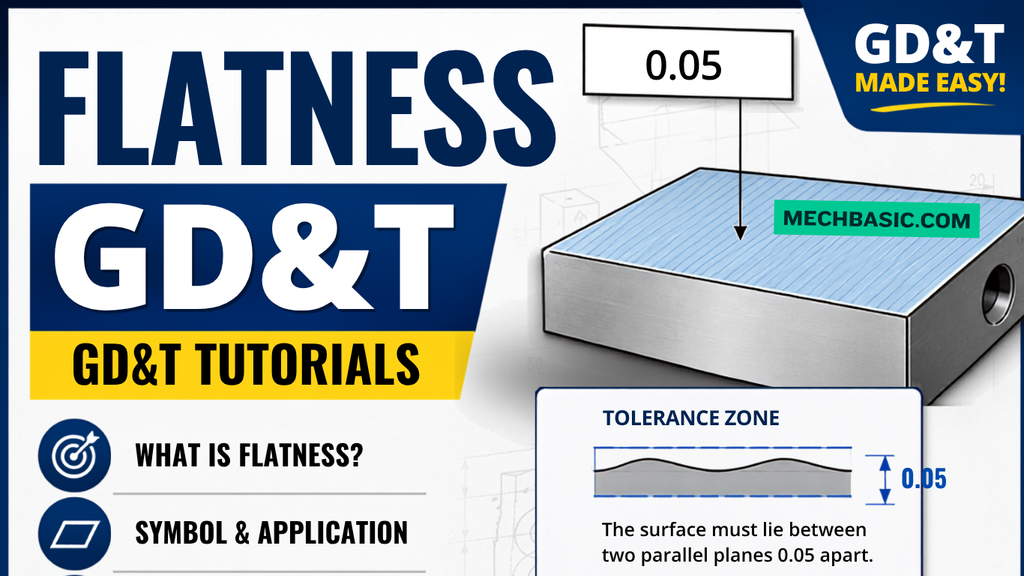
Flatness-GD&T | GD&T Tutorials

ANSI vs ISO Standards-Key Differences you need to know
Straightness-GD&T | GD&T Tutorials
Related Tags:
Categories: