Key Takeaways:
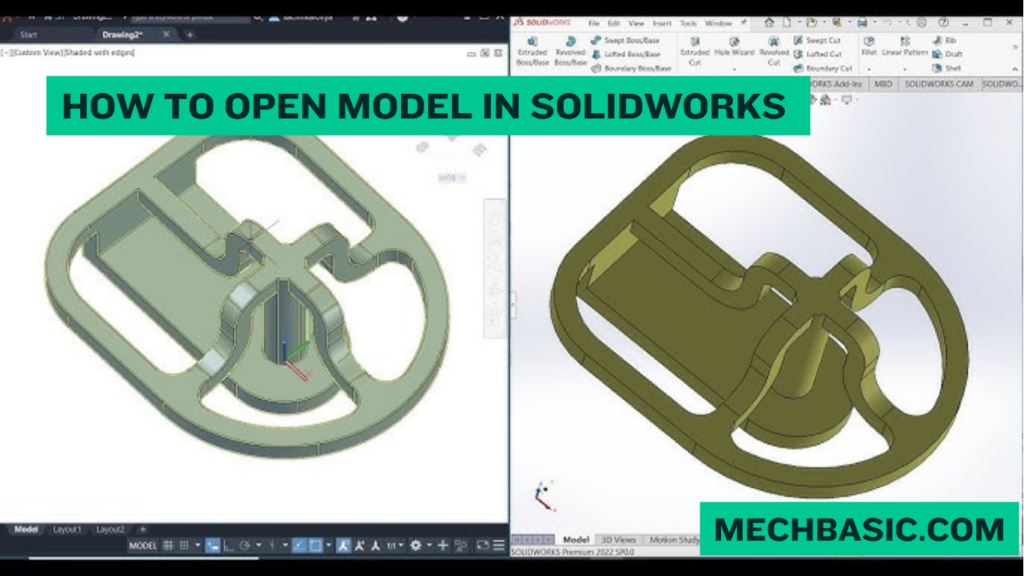
How to Open a Model in a Drawing in SOLIDWORKS
1. Open the Model
Open the required Part (.SLDPRT) or Assembly (.SLDASM) file in SOLIDWORKS.
2. Create a New Drawing
Go to File → Make Drawing from Part/Assembly or click Make Drawing from Part/Assembly on the toolbar.
3. Select Drawing Template
Choose the required Drawing Template and Sheet Size such as A4, A3, or A2.
4. Insert Model Views
The View Palette will appear. Drag the required standard views such as Front, Top, Right, and Isometric onto the drawing sheet.
5. Add Dimensions
Use Smart Dimension or Model Items to add the required dimensions, tolerances, annotations, and other manufacturing information.
6. Save the Drawing
Save the drawing as a .SLDDRW file. The drawing remains linked to the original part or assembly, so changes to the model can update the drawing.
Key Takeaway
Open Model → Make Drawing → Select Template → Insert Views → Add Dimensions → Save as .SLDDRW
In this article:
- How to Open a Model in a Drawing in SOLIDWORKS
- How to Create a Drawing from a Model
- Method 2: Create a Drawing from an Open Model
- Method 3: Insert a Model into an Existing Drawing
- How to Create a Section View
- How to Create an Isometric Drawing View
- Important: Model and Drawing Are Linked
- Common Drawing File Extensions
- Quick Method
How to Open a Model in a Drawing in SOLIDWORKS
In SOLIDWORKS, you can create a 2D engineering drawing from an existing Part or Assembly. The drawing can contain standard views, dimensions, annotations, section views, and other manufacturing information.
Opening a 3D model (Part or Assembly) directly from an existing 2D Drawing in SOLIDWORKS can be done quickly using several built-in shortcuts:
1. Right-Click Short Cut (Fastest Method)
- Open your
.slddrwdrawing file. - Right-click on any drawing view or any model edge/face within a view.
- Select Open Part (or Open Assembly) from the context menu (it appears near the top with an icon showing a open folder with a part/assembly).
2. Using the FeatureManager Design Tree
- Look at the FeatureManager Design Tree on the left side of your screen.
- Expand the drawing view branch (e.g.,
Drawing View1). - Right-click the listed model file underneath it.
- Click Open Part or Open Assembly.
3. Keyboard Shortcut (Hover & Click)
- Hover your mouse over any drawing view and press
Shift+R(or right-click and select Open Model in Position if available in your version setup).
4. Opening a Component from a BOM (Bill of Materials)
If your drawing contains a Bill of Materials table:
- Expand or click the row corresponding to the item you want to open.
- Right-click the cell/row and choose Open Part / Open Assembly.
SOLIDWORKS Help: Opening a Model from a Drawing View: Official Dassault Systèmes documentation on opening part and assembly models directly from drawing views.
How to Create a Drawing from a Model
Method 1: Make Drawing from Part or Assembly
This is the easiest method.
Step 1: Open the Model
Open your SOLIDWORKS:
- Part (.SLDPRT) or
- Assembly (.SLDASM)
file.
Step 2: Start a New Drawing
Go to:
File → Make Drawing from Part/Assembly
SOLIDWORKS will create a new drawing based on the active model.
You can also use the Make Drawing from Part/Assembly command from the toolbar.
Step 3: Select a Drawing Template
Choose a drawing sheet format such as:
- A4
- A3
- A2
- A1
- A0
Select the required template and click OK.
Step 4: Insert the Model View
The View Palette / Model View options will appear.
Select the model orientation you want, such as:
- Front
- Top
- Right
- Left
- Bottom
- Back
- Isometric
Click the desired view and place it on the drawing sheet.
Step 5: Add Additional Views
After placing the main view, you can create additional views such as:
- Projected View
- Section View
- Detail View
- Auxiliary View
- Broken View
Method 2: Create a Drawing from an Open Model
If the Part or Assembly is already open:
- Open the model.
- Go to File.
- Select Make Drawing from Part/Assembly.
- Choose a drawing template.
- Select the required model orientation.
- Place the view on the sheet.
This is the most common workflow.
Method 3: Insert a Model into an Existing Drawing
If you already have a drawing open and want to add a model:
- Open the drawing.
- Select:
Insert → Drawing View → Model
- Select the required Part or Assembly.
- Choose the required orientation.
- Place the view on the drawing sheet.
Depending on your SOLIDWORKS version, the exact menu wording may vary.
How to Add Dimensions
Once the model views are placed, you can add dimensions.
Go to:
Annotations → Model Items
to bring dimensions and annotations from the model into the drawing.
You can also create drawing dimensions manually using:
Smart Dimension
Common Drawing Information
- Linear dimensions
- Angular dimensions
- Diameter
- Radius
- Hole callouts
- Center marks
- Geometric tolerances
- Surface-finish symbols
How to Create a Section View
To show internal features:
View Layout → Section View
Then:
- Select the parent view.
- Draw a cutting line.
- Position the section.
- Click to place the section view.
A section view is particularly useful for showing:
- Holes
- Internal cavities
- Shafts
- Bearings
- Internal components
How to Create an Isometric Drawing View
To add an isometric view:
View Palette → Isometric
Then drag the isometric view onto the drawing sheet.
An isometric view is commonly used as a 3D visual reference on engineering drawings.
Important: Model and Drawing Are Linked
A SOLIDWORKS drawing is normally associated with the referenced Part or Assembly.
For example:
Bracket.SLDPRT
↓
Bracket.SLDDRW
If you modify the part, the drawing can update to reflect the model changes.
This is one of the major advantages of parametric CAD.
Common Drawing File Extensions
| File Type | Extension | Purpose |
|---|---|---|
| Part | .SLDPRT | 3D component |
| Assembly | .SLDASM | Multiple components |
| Drawing | .SLDDRW | 2D engineering drawing |
Quick Method
If your model is already open:
Open Part/Assembly
→ File
→ Make Drawing from Part/Assembly
→ Choose Drawing Template
→ Select Model View
→ Place View
→ Add Dimensions & Annotations
→ Save Drawing
That’s the standard way to open a SOLIDWORKS model in a drawing and create its 2D engineering documentation.
Latest articles:

Best Budget Workstation Laptops for SolidWorks and Heavy 3D Assembly Modeling
Best Budget Workstation Laptops for SolidWorks and Heavy 3D Assembly Modeling Overview What Does SOLIDWORKS…

SolidWorks Standard vs Professional vs Premium: Full Feature Comparison
SolidWorks Standard vs Professional vs Premium: Full Feature Comparison Overview: SOLIDWORKS Package Overview SOLIDWORKS comes…
SolidWorks 2026 License Cost: Perpetual vs Subscription Pricing Breakdown
SolidWorks 2026 License Cost: Perpetual vs Subscription Pricing Breakdown Overview: SOLIDWORKS 2026 License Options SOLIDWORKS…

Flatness-GD&T | GD&T Tutorials

ANSI vs ISO Standards-Key Differences you need to know
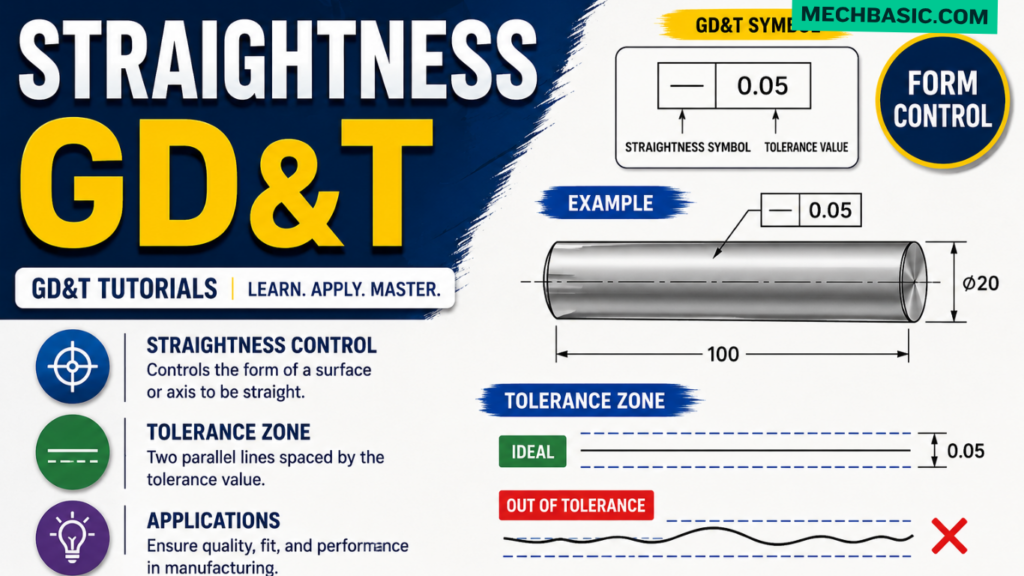
Straightness-GD&T | GD&T Tutorials
Related Tags:
Categories: