Key Takeaways:
STL to SLDPRT in SOLIDWORKS
An STL file is a mesh, while an SLDPRT file is a native SOLIDWORKS part. You can import an STL into SOLIDWORKS, but converting it into a clean, editable solid may require additional steps.
Method 1: Import STL as a Solid
- Open SOLIDWORKS.
- Go to File → Open.
- Select your
.STLfile. - Click Options in the Open dialog.
- Under Import as, select Solid Body.
- Click OK → Open.
- If the STL is suitable, SOLIDWORKS creates a solid body.
- Go to File → Save As.
- Select SOLIDWORKS Part (
.SLDPRT).
Method 2: Import as Graphics Body
If the STL is too large or complex:
File → Open → STL → Options → Graphics Body
This is useful for viewing the model, but it isn’t a normal editable SOLIDWORKS solid.
For a Fully Editable Model
If you need to modify dimensions and features, simply converting STL → SLDPRT usually isn’t enough.
A better workflow is:
STL → Mesh → Reference Geometry → Rebuild Features → Native SOLIDWORKS Part
You may need to use tools such as ScanTo3D or reverse-engineering techniques to recreate sketches, surfaces, and solid features.
Important Tip
If you only need to 3D print the model, keep it as STL.
If you need to edit dimensions, add holes, change features, or create engineering drawings, rebuild it as a native SLDPRT.
Key Takeaway:
STL → Import → Solid Body → Save As .SLDPRT
Complex STL → Reverse Engineering → Rebuild → Native .SLDPRT
STL to SLDPRT in SOLIDWORKS
An STL file is a mesh-based 3D file format commonly used for 3D printing, scanning, reverse engineering, and sharing 3D models. An SLDPRT file is SOLIDWORKS’ native part format.
SOLIDWORKS can import an STL file, but the result depends on the import settings and the quality of the STL mesh. A key point is that simply saving an STL as an SLDPRT does not automatically create a fully editable parametric SOLIDWORKS model.
There are several approaches depending on what you need.
ScanTo3D: Convert STL to Editable SOLIDWORKS Features (YouTube): Walkthrough on using built-in reverse engineering tools to extract planar/cylindrical surfaces from complex faceted mesh models.
Method 1: Import STL as a Solid
If the STL is relatively simple and has a suitable mesh, you can attempt to import it as a solid body.
Step 1: Open SOLIDWORKS
Launch SOLIDWORKS and select:
File → Open
Step 2: Select the STL File
Browse to your:
.STL
file.
In the file-type selection, choose:
STL (*.stl)
Step 3: Open the Import Options
Before opening the file, select Options.
SOLIDWORKS provides different import options for mesh files.
Depending on the version and available functionality, you may be able to import the STL as:
- Graphics Body
- Mesh Body
- Solid Body
- Surface Body
Step 4: Select Solid Body
If the STL geometry and mesh quality allow it, choose the appropriate Solid Body import option.
Click:
OK → Open
SOLIDWORKS will attempt to convert the STL mesh into a solid body.
Step 5: Save as SLDPRT
Once the model has been imported successfully, select:
File → Save As
Choose:
SOLIDWORKS Part (*.SLDPRT)
You now have an SLDPRT file containing the imported geometry.
Important
The resulting solid may still be difficult to edit parametrically because the original STL contains triangular mesh facets rather than native SOLIDWORKS features.
Method 2: Import as Graphics Body
For large or complex STL files, importing the model as a Graphics Body can be much faster.
Step 1: Open the STL
Go to:
File → Open
and select the STL file.
Step 2: Choose Graphics Body
In the STL import options, select:
Graphics Body
This allows SOLIDWORKS to display the mesh without attempting to convert every triangle into a conventional solid.
Step 3: Work With the Imported Mesh
The model can be viewed and used as a reference.
This approach is useful when you need to:
- Inspect a scanned model
- Compare geometry
- Take measurements
- Use the STL as a reference
- Prepare a model for reverse engineering
Limitation
A graphics body is not equivalent to a normal SOLIDWORKS solid feature model.
You generally cannot edit it like a conventional part containing:
- Extrude
- Revolve
- Fillet
- Chamfer
- Hole
- Sketch
features.
Method 3: Import as a Mesh Body
Depending on your SOLIDWORKS version and available mesh functionality, you may also be able to import the STL as a Mesh Body.
This is useful when you want to retain the mesh structure while working with it inside SOLIDWORKS.
Mesh-based workflows can be useful for:
- 3D scanning
- Reverse engineering
- 3D printing
- Inspection
- Reference geometry
- Complex organic shapes
However, a mesh body is still fundamentally different from a conventional parametric SOLIDWORKS model.
For a Fully Editable Model
If your goal is to obtain a fully editable SLDPRT model, simply importing the STL is usually not enough.
An STL contains a triangular representation of the object’s surface. It generally does not contain the original design history, sketches, dimensions, constraints, or feature relationships.
A typical reverse-engineering workflow is:
STL → Mesh/Reference → Extract Geometry → Create Sketches → Build Features → Fully Parametric SLDPRT
Step 1: Import the STL
Bring the STL into SOLIDWORKS as an appropriate mesh or reference body.
Step 2: Inspect the Geometry
Check:
- Overall dimensions
- Mesh quality
- Orientation
- Missing surfaces
- Holes
- Irregular areas
- Design features
Step 3: Create Reference Geometry
Use the imported model to establish:
- Planes
- Sections
- Axes
- Reference points
These references can help you reconstruct the original design.
Step 4: Create Sketches
Create sketches based on the STL geometry.
For example, you might reconstruct:
- Circles
- Rectangles
- Profiles
- Holes
- Curves
- Cross-sections
Step 5: Rebuild the Features
Use normal SOLIDWORKS features such as:
- Extruded Boss/Base
- Extruded Cut
- Revolve
- Sweep
- Loft
- Fillet
- Chamfer
- Hole Wizard
The goal is to replace the mesh representation with native CAD features.
Step 6: Add Dimensions and Constraints
Add appropriate:
- Dimensions
- Geometric relations
- Design intent
- Constraints
This makes the reconstructed model easier to modify.
Step 7: Save as SLDPRT
Finally, save the reconstructed part as:
.SLDPRT
You now have a much more editable SOLIDWORKS model.
Example
Suppose you have an STL of a mechanical bracket.
STL
The file contains thousands of triangular facets representing the bracket.
Simple Conversion
STL → Import → Solid/Mesh → Save as SLDPRT
This gives you an SLDPRT containing the imported geometry, but it may not behave like a model originally created in SOLIDWORKS.
Reverse Engineering
STL → Import → Reference → Sketch → Extrude → Cut → Fillet → Dimensions → SLDPRT
This produces a model with native SOLIDWORKS features that can be edited more easily.
STL vs SLDPRT
| Feature | STL | SLDPRT |
|---|---|---|
| File type | Mesh | Native SOLIDWORKS part |
| Triangular facets | ✅ | Not normally the design representation |
| Parametric features | ❌ | ✅ |
| Sketch history | ❌ | ✅ |
| Dimensions/constraints | ❌ | ✅ |
| Feature tree | ❌ | ✅ |
| Easy modification | Limited | ✅ |
| 3D printing | Excellent | Can be exported |
| Reverse engineering | Reference | Excellent after reconstruction |
Which Method Should You Use?
| Requirement | Recommended Method |
|---|---|
| Just view the STL | Graphics Body |
| Use STL as a reference | Graphics/Mesh Body |
| Need a basic solid | Import as Solid |
| Large/complex scan | Mesh Body |
| Need editable CAD features | Reverse Engineering ⭐ |
| Need a fully parametric SLDPRT | Rebuild the model ⭐ |
Important Tips
1. Check STL Quality
A very dense STL may contain hundreds of thousands or millions of triangles. This can make conversion and editing slow.
2. Check Units
STL files don’t reliably carry the same unit information you may expect from native CAD files. Always verify the imported model’s dimensions.
For example, a model intended to be:
100 mm
should not accidentally appear as:
100 inches
or another incorrect size.
3. Repair the Mesh
If the STL contains:
- Holes
- Non-manifold edges
- Gaps
- Intersecting triangles
the conversion to a solid may fail or produce problematic geometry.
4. Don’t Expect the Original Feature Tree
An STL generally cannot recreate the original SOLIDWORKS design history automatically.
The original:
Sketch → Extrude → Fillet → Chamfer
feature structure is not stored in the STL.
Frequently Asked Questions (FAQs)
1. Can SOLIDWORKS convert STL to SLDPRT?
Yes. SOLIDWORKS can import STL data and the resulting model can be saved as an SLDPRT, depending on the import method and model complexity.
2. Is an imported STL fully editable?
Not necessarily. An imported STL is fundamentally mesh-based and does not contain the original parametric design history.
3. Can I convert STL directly into a feature-based model?
Not in the same way as opening an original native CAD file. For a truly editable model, you generally need to reconstruct the important geometry using SOLIDWORKS features.
4. Which method is best for a scanned object?
For a 3D-scanned object, importing it as a mesh/reference body and then using a reverse-engineering workflow is often more practical.
5. Why does my STL fail to import as a solid?
Possible causes include:
- Very high triangle count
- Poor mesh quality
- Gaps
- Non-manifold geometry
- Self-intersections
- Complex or irregular surfaces
Conclusion
Converting STL to SLDPRT in SOLIDWORKS can mean two different things.
Quick Conversion
STL → Import as Solid/Mesh → Save As SLDPRT
This is suitable when you mainly need the STL geometry inside SOLIDWORKS.
Fully Editable Model
STL → Import → Reference/Mesh → Reverse Engineer → Create Sketches → Build Features → Save as SLDPRT
Latest articles:

SolidWorks Standard vs Professional vs Premium: Full Feature Comparison
SolidWorks Standard vs Professional vs Premium: Full Feature Comparison Overview: SOLIDWORKS Package Overview SOLIDWORKS comes…
SolidWorks 2026 License Cost: Perpetual vs Subscription Pricing Breakdown
SolidWorks 2026 License Cost: Perpetual vs Subscription Pricing Breakdown Overview: SOLIDWORKS 2026 License Options SOLIDWORKS…
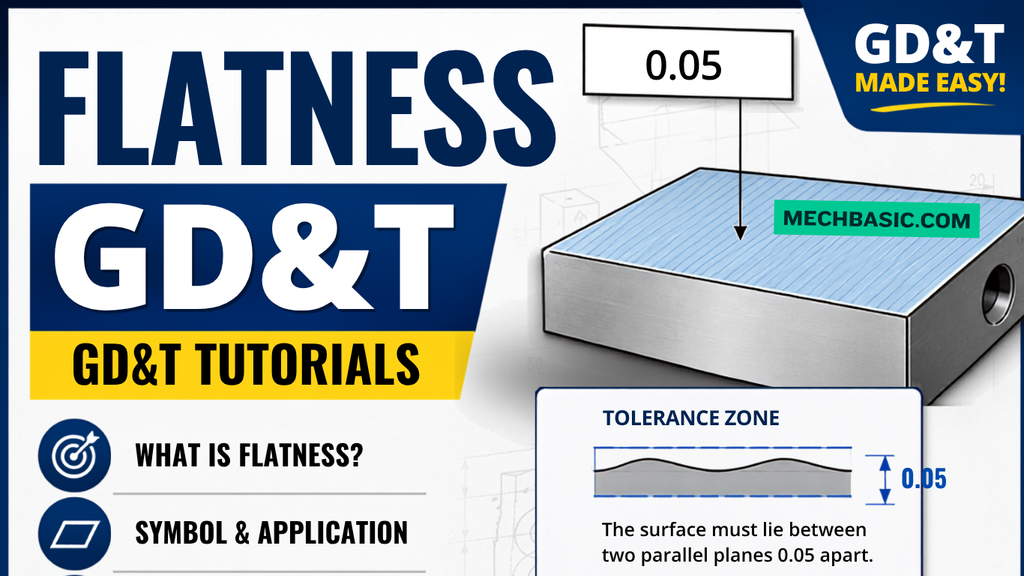
Flatness-GD&T | GD&T Tutorials

ANSI vs ISO Standards-Key Differences you need to know
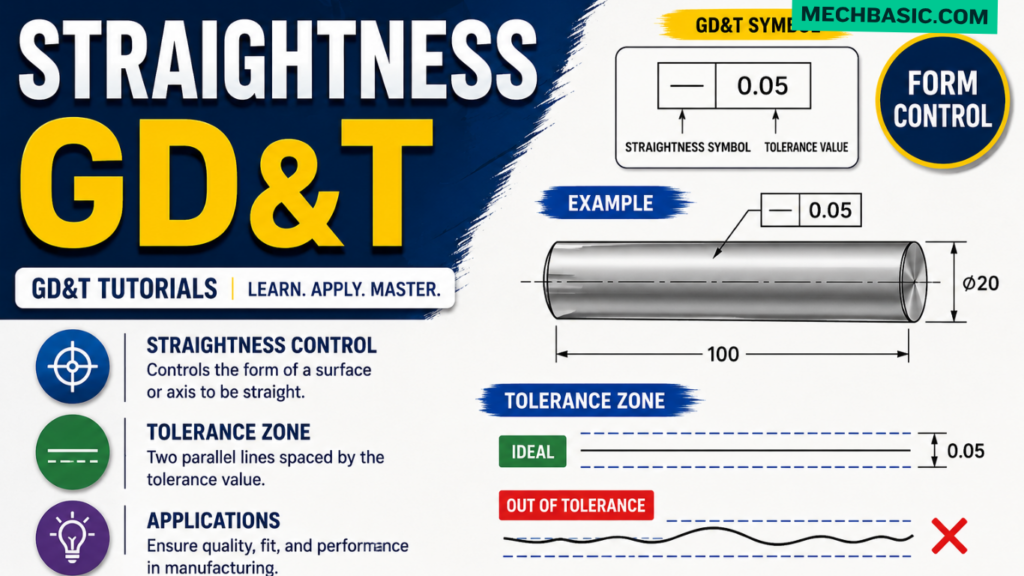
Straightness-GD&T | GD&T Tutorials
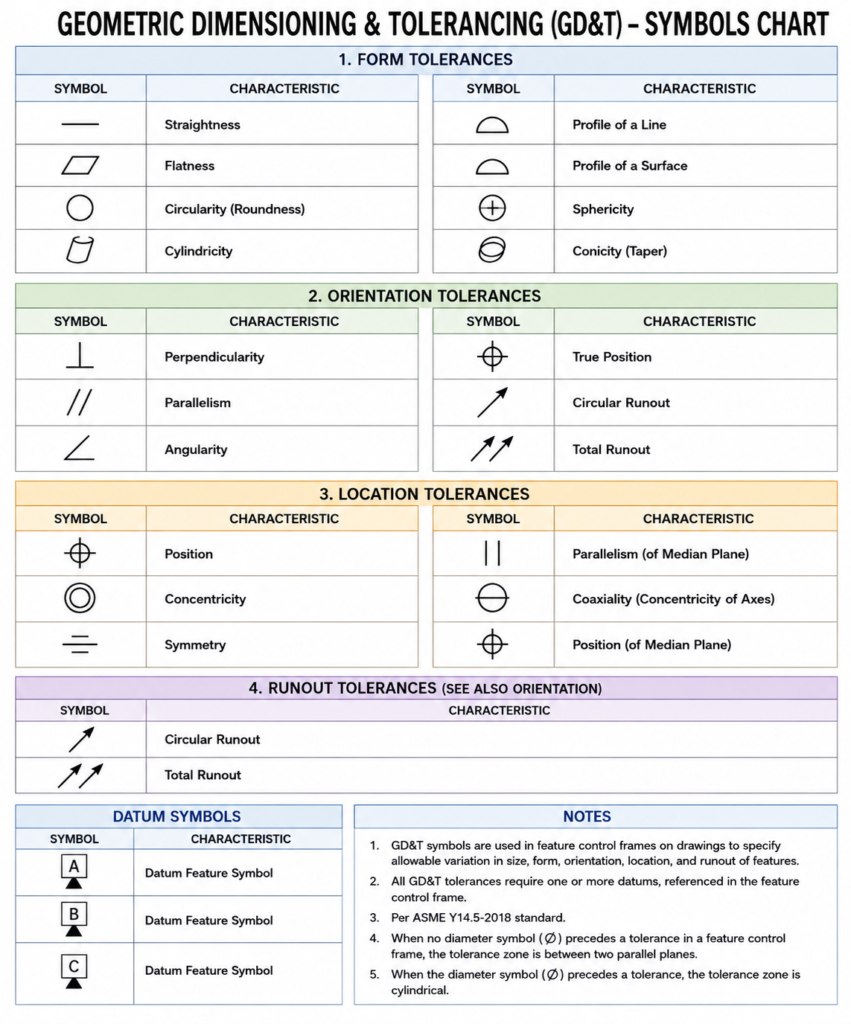
GD&T Symbols chart- Free download | GD&T
Geometric Dimensioning and Tolerancing (GD&T) is a standardized system used in engineering drawings to define…
Categories: