
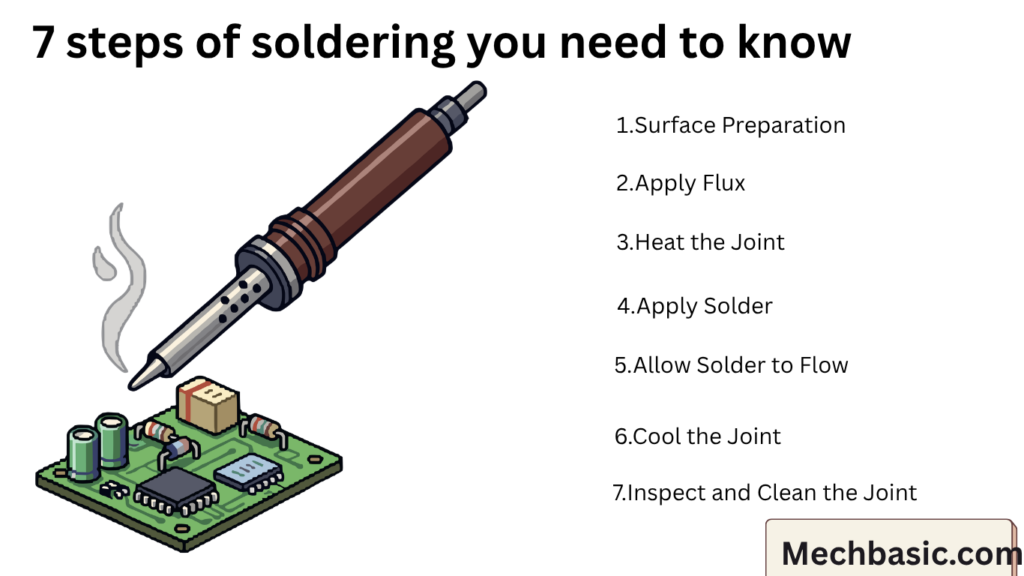
The 7 basic soldering steps are: clean the surfaces, apply flux, heat the joint, apply solder, allow solder to flow, remove heat, and inspect the joint.
These steps help create a strong and reliable connection.
Proper soldering improves electrical and mechanical performance.
In this article:
- 7 Steps of Soldering
- Step 1: Surface Preparation
- Step 2: Apply Flux
- Step 3: Heat the Joint
- Step 4: Apply Solder
- Step 5: Allow Solder to Flow
- Step 6: Cool the Joint
- Step 7: Inspect and Clean the Joint
- Characteristics of a Good Solder Joint
- Common Soldering Defects
- Example: Soldering a Wire to a Terminal
- Summary of the 7 Steps
7 Steps of Soldering
Successful soldering requires proper preparation, heating, and inspection. Following the correct procedure helps create a strong, reliable, and electrically conductive joint.
The 7 basic steps of soldering are:
- Surface Preparation
- Apply Flux
- Heat the Joint
- Apply Solder
- Allow Solder to Flow
- Cool the Joint
- Inspect and Clean the Joint
Step 1: Surface Preparation
This is the most important step because solder does not bond well to dirty or oxidized surfaces.
Purpose
To remove:
- Dirt
- Oil
- Grease
- Rust
- Oxides
Methods
Mechanical cleaning
- Sandpaper
- Emery cloth
- Wire brush
Chemical cleaning
- Solvents
- Alcohol cleaners
- Degreasers
Importance
A clean surface allows the solder to:
- Wet the metal properly
- Flow smoothly
- Form a strong bond
Example
Before soldering a copper wire, clean the exposed conductor until it appears bright and shiny.
Step 2: Apply Flux
Flux is a chemical cleaning agent used during soldering.
Functions of Flux
- Removes oxide films
- Prevents oxidation during heating
- Improves solder flow
- Enhances wetting
Common Types
Rosin Flux
Used for electronics.
Acid Flux
Used for plumbing and sheet-metal work.
Water-Soluble Flux
Easy to clean after soldering.
Procedure
Apply a thin, even layer of flux to the joint area.
Importance
Without flux:
- Solder may not spread properly.
- Weak joints can form.
Step 3: Heat the Joint
The base metals should be heated first.
Important Rule
Heat the workpiece, not the solder.
The solder should melt because the joint is hot enough, not because it is touched directly by the soldering iron.
Equipment Used
- Soldering iron
- Soldering station
- Soldering gun
- Gas torch (for larger jobs)
Procedure
Place the soldering iron tip so it contacts both metal surfaces.
Allow heat to transfer evenly.
Importance
Proper heating ensures:
- Good solder flow
- Strong bonding
- Reliable electrical conductivity
Step 4: Apply Solder
Once the joint reaches the correct temperature, apply solder.
Procedure
Touch the solder wire to the heated joint.
If the temperature is correct:
- Solder melts instantly
- Solder flows smoothly into the joint
Signs of Correct Application
- Smooth melting
- Uniform spreading
Common Mistake
Melting solder directly on the iron tip and dropping it onto the joint.
This often produces weak “cold joints.”
Step 5: Allow Solder to Flow
After melting, the solder should flow naturally over the joint surfaces.
What Happens
The molten solder:
- Wets the surfaces
- Fills small gaps
- Forms a metallurgical bond
Characteristics of Good Flow
- Smooth appearance
- Uniform coverage
- Complete joint filling
Importance
Proper flow ensures:
- Strong mechanical connection
- Good electrical conductivity
Step 6: Cool the Joint
After enough solder has flowed:
- Remove the soldering iron
- Allow the joint to cool naturally
Important Precaution
Do not move the joint while cooling.
Movement can create:
- Cracks
- Weak bonds
- Cold joints
Cooling
Usually occurs naturally in a few seconds.
Rapid cooling is generally unnecessary.
Step 7: Inspect and Clean the Joint
After cooling, inspect the soldered connection.
Visual Inspection
Check for:
- Smooth surface
- Bright appearance
- Proper solder amount
- No cracks
- No gaps
Cleaning
Remove excess flux residue if required.
Methods:
- Alcohol cleaning
- Water cleaning (for water-soluble flux)
- Flux remover solutions
Importance
Cleaning improves:
- Appearance
- Corrosion resistance
- Reliability
Characteristics of a Good Solder Joint
A good solder joint should be:
- Smooth
- Shiny (for many solder types)
- Well bonded
- Properly filled
- Free of cracks
- Free of voids
- Electrically conductive
Common Soldering Defects
| Defect | Cause |
|---|---|
| Cold joint | Insufficient heating |
| Excess solder | Too much solder applied |
| Insufficient solder | Poor filling |
| Solder bridge | Unwanted connection between terminals |
| Flux residue | Inadequate cleaning |
| Cracked joint | Movement during cooling |
Example: Soldering a Wire to a Terminal
- Clean wire and terminal.
- Apply flux.
- Heat both parts.
- Apply solder.
- Allow solder to flow around the connection.
- Let the joint cool.
- Inspect and clean.
Result:
A strong mechanical and electrical connection.
Summary of the 7 Steps
| Step | Operation | Purpose |
|---|---|---|
| 1 | Surface preparation | Remove contaminants |
| 2 | Apply flux | Prevent oxidation |
| 3 | Heat the joint | Raise joint temperature |
| 4 | Apply solder | Introduce filler metal |
| 5 | Allow solder flow | Fill and bond the joint |
| 6 | Cool the joint | Solidify the connection |
| 7 | Inspect and clean | Ensure quality and reliability |
Conclusion
The seven steps of soldering—surface preparation, flux application, heating, solder application, solder flow, cooling, and inspection/cleaning—are essential for producing strong, reliable joints. Proper execution of each step ensures good mechanical strength, electrical conductivity, and long-term performance.
Other courses:


