
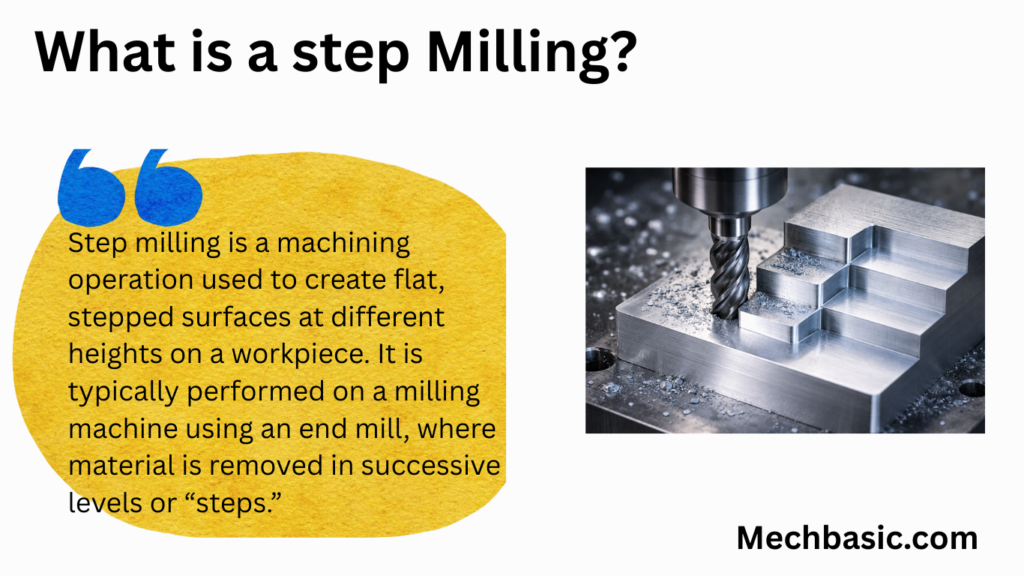
Step milling is a machining operation used to create flat, stepped surfaces at different heights on a workpiece. It is typically performed on a milling machine using an end mill, where material is removed in successive levels or “steps.”
This process is commonly used for shoulders, ledges, and multi-level profiles in mechanical parts. Step milling offers good dimensional accuracy, simple tool paths, and is well suited for 3-axis CNC machining in both prototyping and production.
In this article:
Step Milling
What is Step Milling?
Step milling is a milling operation used to produce steps or shoulders on a workpiece, where each step has a different height or depth.
It creates flat surfaces at different levels, similar to step turning but performed on a milling machine.
Purpose of Step Milling
Step milling is done to:
- Produce multiple levels on a component
- Create shoulders for assembly
- Achieve accurate depth control
- Prepare parts for further machining
Principle of Step Milling
- A rotating milling cutter removes material
- The cutter moves in X–Y direction
- Depth of cut is controlled by the Z-axis
- Each depth produces one step
Step Milling Process (How It Is Done)
1. Workpiece Setup
- Workpiece is clamped using:
- Machine vice
- T-slot clamps
- Workpiece must be aligned properly
2. Cutter Selection
Common cutters used:
- End mill
- Face mill
- Side & face cutter
Choice depends on:
- Step width
- Step depth
- Material
3. Machining Steps
Step 1: Reference Surface Creation
- A flat reference surface is machined first
Step 2: Depth Setting
- Cutter is lowered to the first depth (Z-axis)
Step 3: Milling the First Step
- Tool moves along the required path to create the first level
Step 4: Depth Change
- Cutter is lowered further to create the next step
Step 5: Final Finishing
- Light finishing cuts improve accuracy and surface finish
Step Milling in CNC Machines
In CNC milling:
- Step dimensions are programmed
- Z-axis movements define step heights
- Highly accurate and repeatable results
Typical CNC example:
- Z = −5 mm → First step
- Z = −10 mm → Second step
- Z = −15 mm → Third step
Types of Step Milling
1. Horizontal Step Milling
- Done using slab or side milling cutters
- Used for heavy material removal
2. Vertical Step Milling
- Done using end mills or face mills
- More common in CNC milling
Advantages of Step Milling
✔ High dimensional accuracy
✔ Suitable for CNC automation
✔ Produces clean shoulders
✔ Efficient for batch production
Limitations of Step Milling
❌ Not suitable for curved surfaces
❌ Requires careful depth control
❌ Tool wear affects accuracy
Applications of Step Milling
- Machine bases
- Brackets
- Dies and molds (basic levels)
- Fixtures
- Mechanical housings
Step Milling vs Slot Milling
| Feature | Step Milling | Slot Milling |
|---|---|---|
| Purpose | Create steps | Create slots |
| Surface | Flat levels | Narrow channels |
| Depth variation | Yes | Usually constant |
Common Errors & Prevention
| Error | Cause | Prevention |
|---|---|---|
| Uneven steps | Incorrect Z setting | Use DRO/CNC |
| Poor finish | High feed | Reduce feed |
| Chatter | Tool overhang | Shorter tool |
| Burrs | Dull cutter | Sharp cutter |
Conclusion:
Step milling creates flat surfaces at different heights on a workpiece using a milling cutter.
Other courses:


