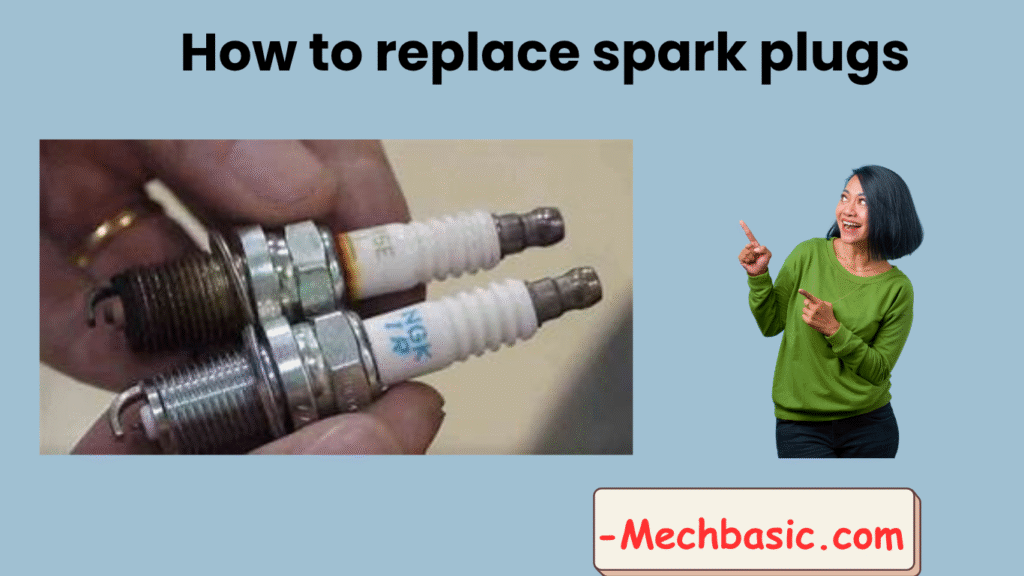
Here’s a step-by-step guide on how to replace spark plugs in a car, in detailed yet clear terms. This is suitable for most gasoline (petrol) vehicles with 4-cylinder engines.
The steps are similar for 6- and 8-cylinder engines but with more plugs and tighter spaces.

In this article:
- Tools & Materials Needed:
- Before You Start:
- Step-by-Step Spark Plug Replacement:
- 🔹 1. Locate the Spark Plugs
- 🔹 2. Clean Around the Plug Area
- 🔹 3. Remove the Ignition Coil or Spark Plug Wire
- 🔹 4. Remove the Old Spark Plug
- 🔹 5. Inspect the Old Plug (Optional but Helpful)
- 🔹 6. Gap the New Spark Plug (if needed)
- 🔹 7. Install the New Spark Plug
- 🔹 8. Apply Dielectric Grease (Optional)
- 🔹 9. Reinstall Ignition Coil or Wire
- 🔹 10. Repeat for All Cylinders
- 🔹 11. Reconnect Battery and Test
- ✅ Final Tips:
Tools & Materials Needed:
The following are the tools and materials required before you start the replacement.
- New spark plugs (check owner’s manual for correct type & gap)
- Ratchet wrench
- Spark plug socket (usually 5/8″ or 13/16″, with rubber insert)
- Socket extension bar
- Torque wrench (for correct tightening)
- Compressed air or brush (to clean plug area)
- Dielectric grease (optional)
- Anti-seize compound (optional but not usually needed on modern plugs)
Before You Start:
- Work on a cold engine to avoid burns and spark plug thread damage.
- Disconnect the negative battery terminal for safety.
- Take a photo or label wires if unfamiliar with coil positions.
Step-by-Step Spark Plug Replacement:
🔹 1. Locate the Spark Plugs
- Open the hood and find the spark plug wires or ignition coils on top of the engine.
- Most modern cars have coil-on-plug (COP) systems: each cylinder has its own ignition coil.
🔹 2. Clean Around the Plug Area
- Use compressed air or a brush to remove dust and debris.
- This prevents dirt from falling into the cylinder once the plug is removed.
🔹 3. Remove the Ignition Coil or Spark Plug Wire
- COP systems:
- Disconnect the coil’s electrical connector.
- Unscrew and gently pull the coil out.
- Older systems with wires:
- Firmly grip the plug boot and twist while pulling to avoid wire damage.
🔹 4. Remove the Old Spark Plug
- Use your spark plug socket with an extension and ratchet to loosen the plug.
- Turn counterclockwise until it comes out.
- Carefully lift it out without dropping debris into the hole.
🔹 5. Inspect the Old Plug (Optional but Helpful)
- Black and sooty → running rich or poor air filter
- Oily → internal oil leak
- White and blistered → overheating
- Brown/gray → normal wear
🔹 6. Gap the New Spark Plug (if needed)
- Many plugs are pre-gapped, but verify with a gap tool.
- Refer to your manual for correct gap (e.g., 0.028″–0.060″).
🔹 7. Install the New Spark Plug
- Hand-thread the new plug into the cylinder using the socket and extension (without ratchet) to avoid cross-threading.
- Once snug, use a torque wrench to tighten:
- Typically 20–25 Nm (15–18 ft-lbs), but check specs for your car.
- Do not over-tighten—you can crack the plug or damage the cylinder head.
🔹 8. Apply Dielectric Grease (Optional)
- Apply a tiny bit of dielectric grease inside the ignition coil boot.
- Helps prevent moisture and makes future removal easier.
🔹 9. Reinstall Ignition Coil or Wire
- Insert the ignition coil or plug wire boot back onto the plug.
- Tighten bolts (for COP) and reconnect the electrical connector.
🔹 10. Repeat for All Cylinders
- Work on one spark plug at a time to avoid mixing up wires.
🔹 11. Reconnect Battery and Test
- Reconnect the battery terminal.
- Start the engine—it should run smoothly.
If it misfires, double-check connections or plug gaps.
✅ Final Tips:
- Use only OEM-recommended spark plugs.
- Avoid using anti-seize on modern plugs (many are already coated).
- Label or photograph before disassembly, especially in multi-cylinder engines.
Related articles:
- What is the difference between a spark plug and a heat range?
- Types of spark plug.
- When to replace spark plugs?
- 10 Signs of bad spark plug
- Spark plug replacement cost.
- How long do spark plug last?
- Do diesel engine have spark plugs?
Other courses:


